Guide on Positioning When Recording Voice Overs
Positioning is a crucial aspect of recording voice overs, as it can greatly affect the sound quality and overall performance. Here's a guide on how to position yourself and your microphone effectively for recording voice overs:
- Select a Suitable Recording Space:
- Choose a quiet and controlled environment to minimize background noise and echoes.
- If possible, use a small, acoustically treated room or a soundproofed space to achieve optimal sound quality.
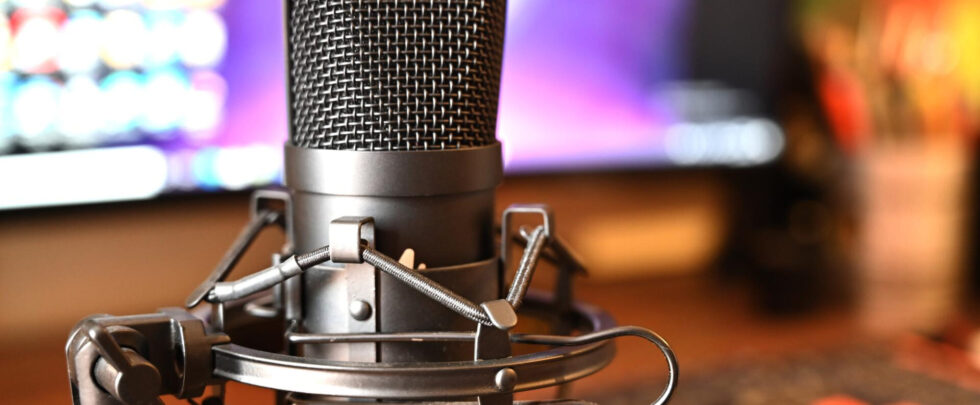
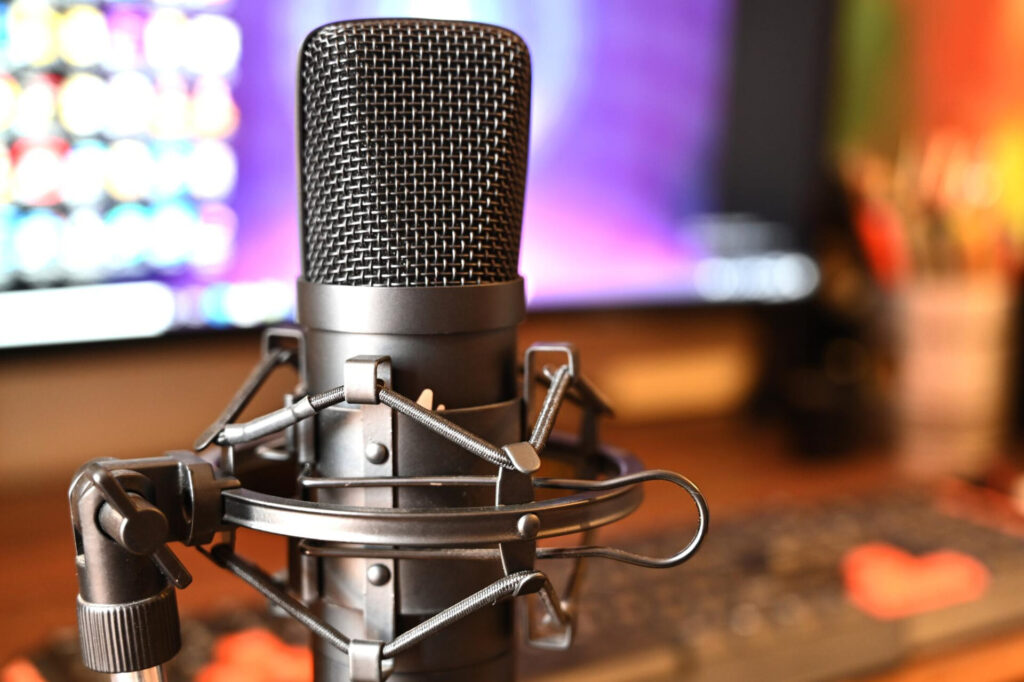
- Microphone Placement:
- Use a microphone stand or boom arm to position the microphone securely and at the desired height.
- Position the microphone at mouth level, slightly below or to the side of your mouth, depending on your preference.
- Distance from the Microphone:
- Maintain a consistent distance from the microphone to ensure a consistent audio level.
- Generally, start with a distance of around 6 to 12 inches (15 to 30 cm) from the microphone. Adjust based on the microphone's sensitivity and your voice.
- Microphone Angle:
- Angle the microphone slightly off-center from your mouth to reduce plosive sounds (popping) and minimize breath noise.
- Experiment with different angles to find the one that captures your voice best.
- Plosive Prevention:
- Use a pop filter or windscreen in front of the microphone to reduce plosive sounds caused by bursts of air hitting the microphone.
- Headphones:
- Wear closed-back headphones to monitor your audio while recording.
- Ensure the headphones are comfortable and don't interfere with your microphone positioning.
- Body Position:
- Sit or stand comfortably while maintaining good posture. Avoid slouching or leaning too close to the microphone.
- Avoid Movement and Noise:
- Minimize movements, such as shifting in your seat, tapping on surfaces, or rustling papers, to avoid unwanted noises.
- Monitor Your Performance:
- Listen to your voice through the headphones to ensure you're delivering the desired tone, pace, and energy.
- Adjust your position as needed to achieve the desired vocal performance.
- Room Acoustics:
- Be aware of the room's acoustics. A room with excessive reflections or echoes can negatively impact your recording quality.
- If the room has poor acoustics, consider using acoustic treatment like foam panels or blankets to dampen reflections.
- Test and Adjust:
- Before recording, conduct a test recording and listen for any issues like background noise, echoes, or inconsistent audio levels.
- Make adjustments to your microphone positioning or recording setup as needed.
- Stay Hydrated:
- Keep a glass of water nearby to stay hydrated. Hydration can help maintain a clear and consistent voice.
- Practice:
- Practice your vocal delivery and microphone technique to become comfortable with maintaining consistent microphone placement.
Remember that finding the optimal microphone positioning might take some trial and error. Regular practice, attention to detail, and a well-organized recording space will contribute to achieving high-quality voice over recordings.