How to Build a Voice Over Booth
Building a voice-over booth, also known as a recording booth or vocal booth, is essential for creating a professional recording environment with minimal background noise and echo. Here are the steps to build a basic voice-over booth:
- Choose the Location: Select a quiet and relatively small space in your home or studio. Closets or spare rooms can work well for building a voice-over booth. The goal is to create an enclosed space that can be soundproofed.
- Measure the Space: Measure the dimensions of the space to determine how much material you'll need for construction.
- Soundproof the Walls: Soundproof the walls to minimize external noise and prevent sound leakage. Use mass-loaded vinyl, acoustic foam panels, or rockwool insulation to achieve soundproofing. Cover as much wall surface as possible to absorb sound reflections.
- Build a Frame: Construct a frame using wooden studs or PVC pipes. The frame will provide the structure for your booth. Ensure that the frame fits snugly within the chosen space.
- Add Soundproofing Material to the Frame: Attach the soundproofing material to the interior walls of the frame. This material will further dampen sound and prevent reverberation within the booth.
- Create an Entrance: Build a hinged or sliding door for easy entry and exit from the booth. Ensure that the door has a tight seal to keep out external noise.
- Ventilation: Install a ventilation system to prevent overheating while recording. Use a quiet fan or air vent to maintain airflow without adding noise to the recordings.
- Install Lighting: Add lighting fixtures inside the booth to provide adequate visibility while recording.
- Acoustic Treatment: Inside the booth, place acoustic foam panels or bass traps strategically to absorb unwanted reflections and enhance sound quality.
- Floor Treatment: Consider using carpet or a thick rug on the floor to reduce footstep noise and further improve sound isolation.
- Test the Booth: After building the booth, test it by recording some sample voice overs. Listen for any unwanted noise or echo and make adjustments as needed.
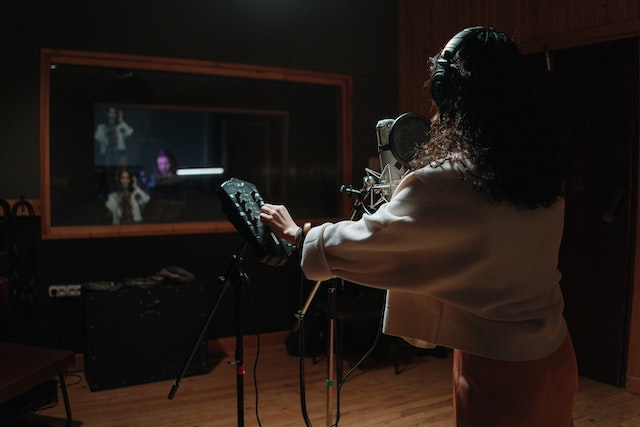
- Equipment Setup: Install the necessary recording equipment inside the booth, such as a microphone, headphones, and audio interface. Ensure that all cables are properly organized to avoid tripping hazards.
- Monitor Placement: If you plan to monitor your recordings inside the booth, set up speakers or use high-quality headphones for accurate sound reproduction.
Remember that building a professional-grade voice-over booth may require more complex construction and additional acoustic treatment. However, these steps will help you create a basic booth suitable for getting started in voice-over work. As you gain more experience and resources, you can improve and expand your recording environment for even better results.


